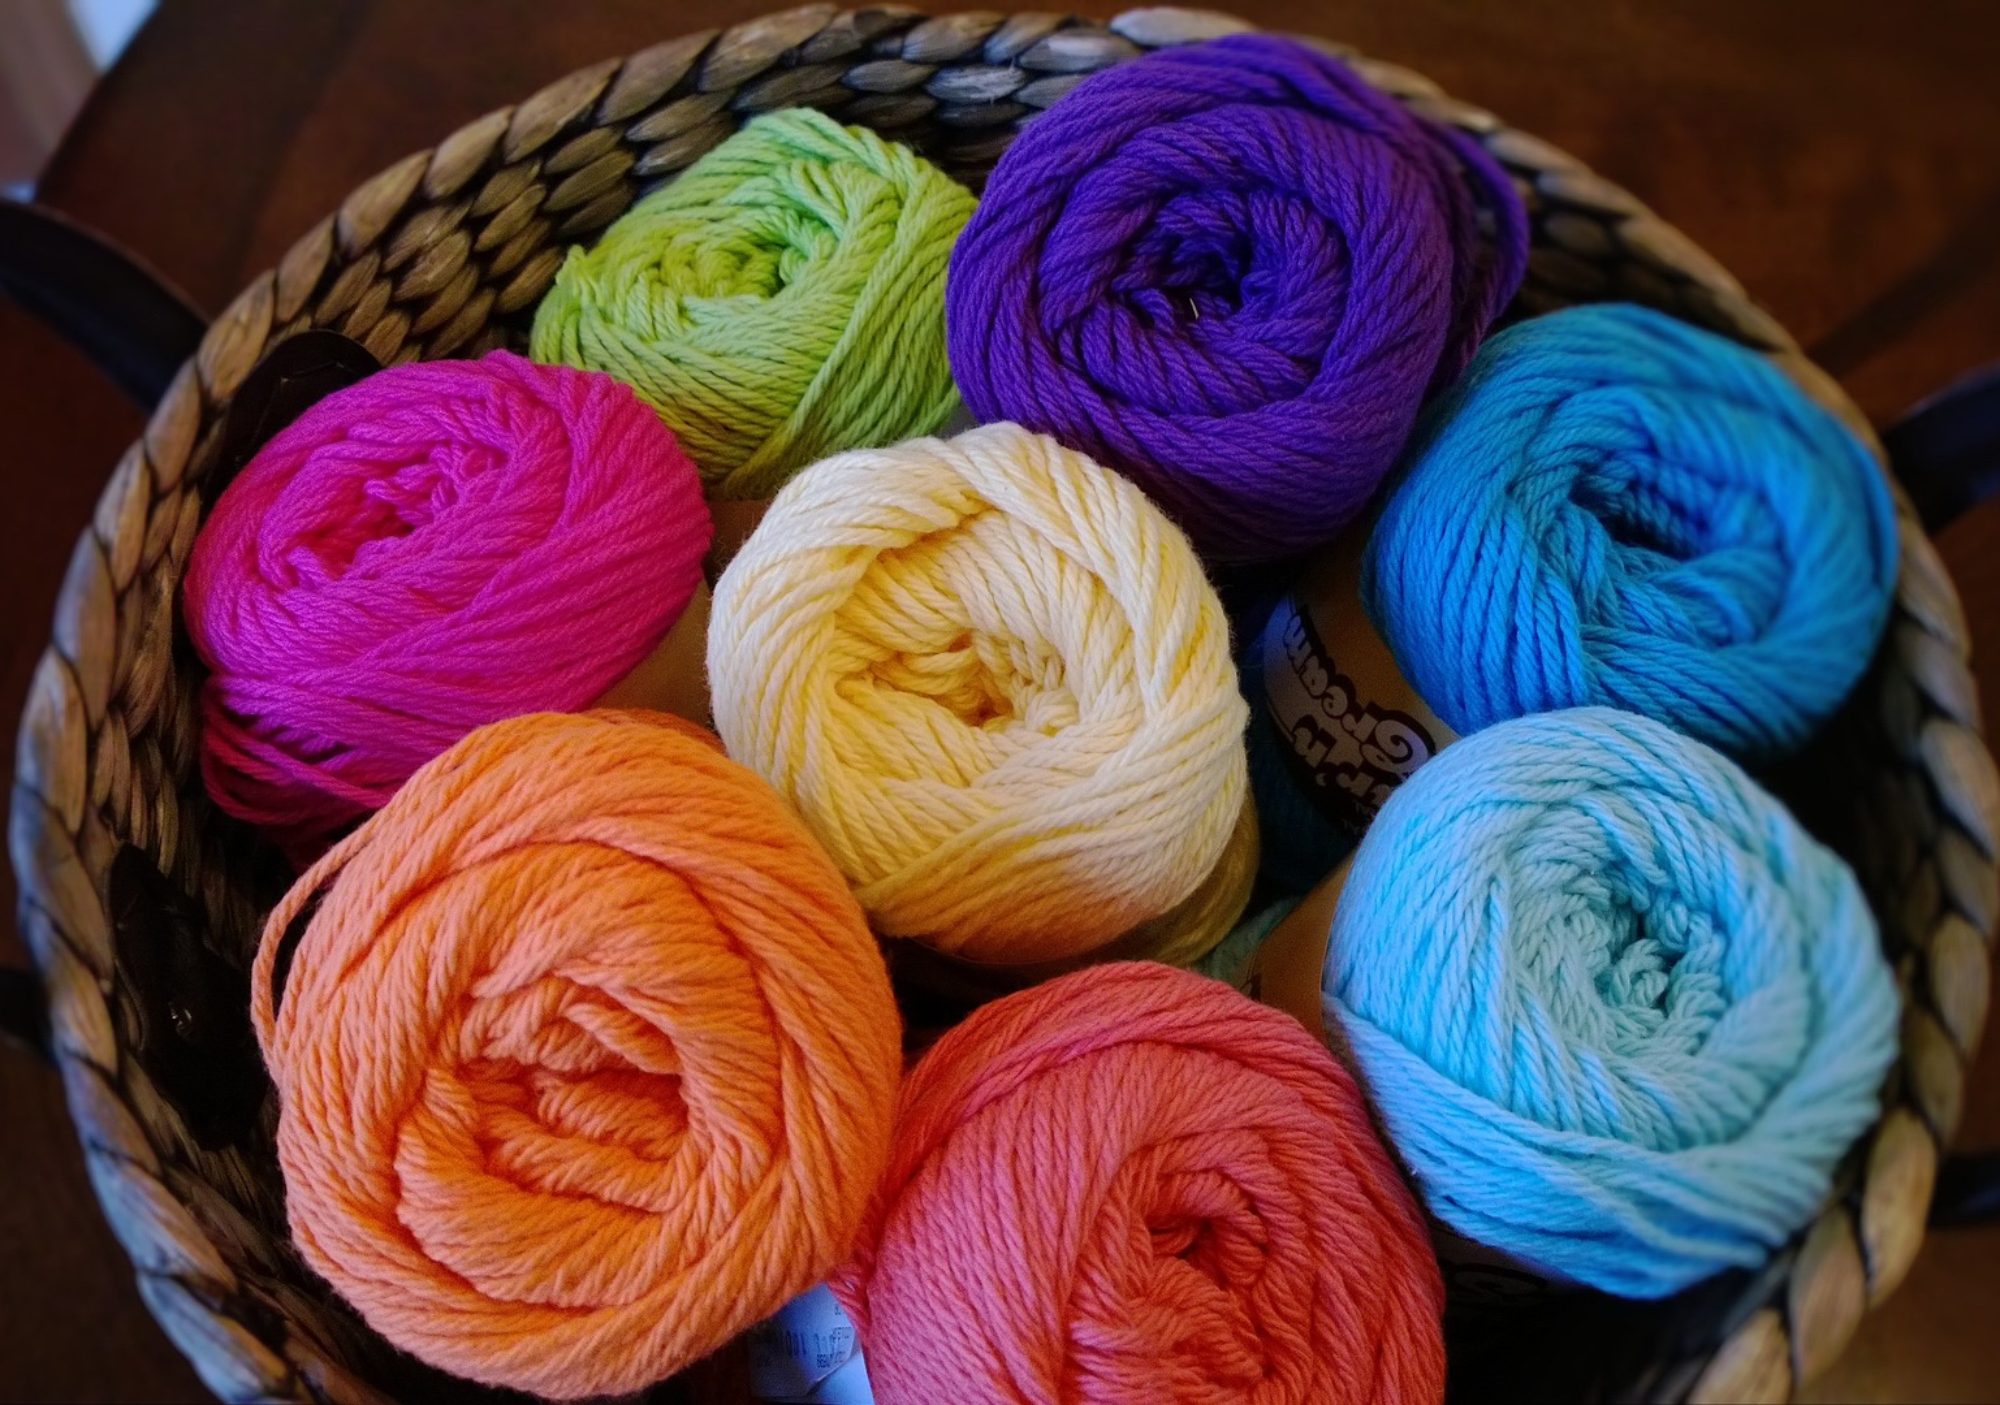
Since the beginning of the pandemic I have been keeping my sanity with my crochet hook. In the beginning crochet blankets and hats were at the top of my list. There was still snow on the ground so warm projects seemed like a great way to keep myself busy. As the months passed by and the weather got warmer I had to shift my ideas.
As more restrictions were lifted and a general consensus that masks would become mandatory in more and more places I wondered how I could contribute. How could I create something that would be useful, helpful and in demand? A general search found lots of crochet mask patterns but I decided those would be better for the winter months as crocheted items can be very warm. I also learned that crochet masks would need a liner. Yarn alone will not provide the proper protection. Imagine wearing a mask made of thick yarn made even thicker with the addition of a cloth liner in 30 degree weather. Definitely not an option for me. That’s when I discovered ear savers!
What are Ear Savers?

Ear savers are literally small crochet strips with a button sewed onto each end. Rather then having the elastic of your mask wrapped around your ear you can use an ear saver. The elastic for each ear is wrapped around the button attached to the ear saver. I have not only discovered that they will help protect your ears from possibly being chaffed by the elastic but they can also help with keeping the mask in place.
Who Can Benefit?
I believe ear savers will be of benefit to a lot of people. Anyone who has found themselves in a position that requires a mask for long periods of time may find an ear saver very helpful. One only needs to do a little research to see how much damage an elastic can do to a persons ears. They can also be helpful for children (and adults like myself) who need their mask to fit better.
How to Make An Ear Saver!
An ear saver is relatively easy to make! If you know how to crochet a chain then you are well on your way to creating ear savers of all different colors. You could take it upon yourself to design your ear saver or you can continue reading and try this easy pattern I created. In the last couple of months I have crocheted and sold over a hundred.
Mel’s Easy Crochet Ear Saver

Materials

- Worsted Weight Yarn #4 (You can either acrylic or cotton)
- 4mm Crochet Hook
- Yarn Needle
- 2 Buttons
- Needle small enough to fit through the holes of your buttons
Abbreviations Used
- Ch – Chain
- HDC – Half Double Crochet
- sl – Slip Stitch
The Pattern
My finished ear savers are approximately 6 inches long but you can adjust the length of the chain to make any size you want.
Chain 21
Round 1: 2 HDC in 2nd chain from hook, 1 HDC in next 18 ch, 5 HDC in last ch, Turn to work in unused loops of chain (Do not work over starting tail), 1 HDC in next 18 ch, 3 HDC in starting ch, join with sl to first HDC.

5 HDC in last chain. You work should naturally turn to work down the opposite side of the chain. 
This is what you should have at the end of round 1 before attaching with a slip stitch.
Round 2: Ch 1, 2 HDC in 1st HDC, 1 HDC in Next 20 st, 2 HDC in next 3 st, 1 HDC in next 20 st, 2 HDC in last 2 st, join wit sl to 1st HDC. Leave a tail long enough to sew the button.
Adding the Buttons
To add the buttons I use the beginning and finishing tail to sew the buttons to each end of the ear saver. Start by threading the starting tail into a hook small enough to fit through the holes in the button. Use this tail to sew your button onto the ear saver. Weave the remaining yarn in, ensuring to weave back and forth at least 3 times. I usually place the button over the hole created by the 5 HDC in the last chain of the first round.
Next Thread the needle with the finishing tail. Weave the tail into the back of the ear saver so that it is lined up with where the 2nd button will be. I usually place this button over the small space created by the 5 HDC in the starting chain. Sew the button and weave the ends into the back of the ear saver.

Needle threaded to weave finishing tail 
weave needle through to where you want to sew your button 
Ready to sew the button!
And Just like that its done!!!!


